
The Ultimate Guide to Press-On Nails in 2025 — How to Get Salon Results at Home
Looking for long-lasting, Instagram-worthy nails without the salon price or commitment? Press-on nails have evolved — better materials, handmade detail, and reusable sets make them a top choice for busy beauty lovers.
Why press-on nails are worth it in 2025
Press-on nails give salon-quality styles in minutes, let you switch looks often, and — when chosen and applied correctly — are a safer, less-damaging option than heavy acrylic extensions. Modern handmade sets use flexible nail roots and acrylic-like ABS resin so they look and feel more natural than old flimsy stick-ons. For styling tips and pro-level application techniques, see expert writeups on press-ons and modern manicure care.
How to choose the right Glitzadora set (what to look for)
-
Shape & length — almond and soft square are most versatile; stiletto is statement-making.
-
Material — Glitzadora press-ons use ABS resin and are handmade for detail and reuse.
- Finish — matte, glazed (high-gloss), cat-eye, or 3D embellishments — pick based on how often you’ll wear them (3D is delicate; glazed is everyday friendly).
- Sizing & kit contents — a good set includes varied sizes, a small file, and either glue or adhesive tabs.
Recommended Glitzadora sets
1) Dreamy Blush Bear — handmade press-on set
Soft blush base with tiny hand-painted bear motifs and micro rhinestones on accent nails. Ideal for casual dates and “cute” seasonal looks. The set is handmade, slightly rounded (short-to-medium length) and reusable if removed carefully.

2) Nude Tulle — Peach Cat-Eye / spring set
Elegant nude/pink gradient with subtle cat-eye shimmer on a few nails. Great as a bridal trial set or for office + weekend wear. Cat-eye finish catches light for depth without being flashy.

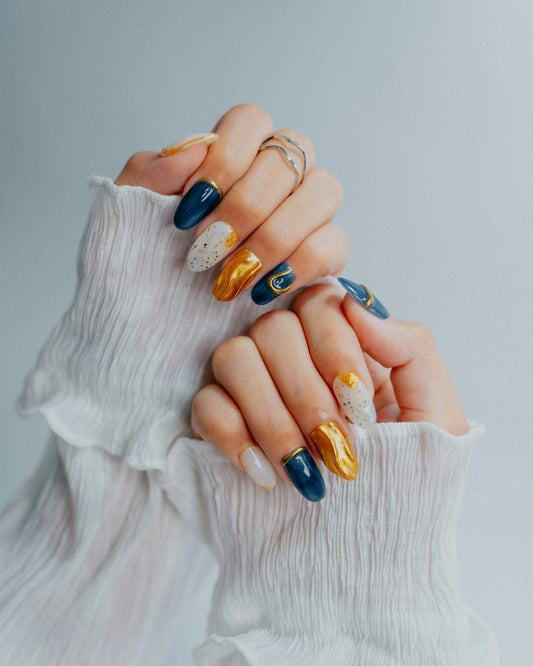
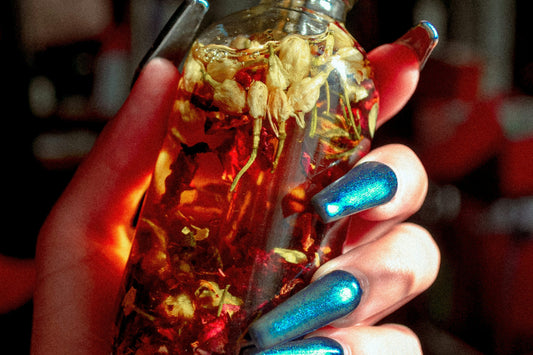
3) Azure Florale — blue floral tips
Fresh blue tips with hand-painted tiny florals. Works well for spring wardrobes, resort vacations, and pick-me-up nail changes. Medium length with slightly tapered tips for modern elegance.

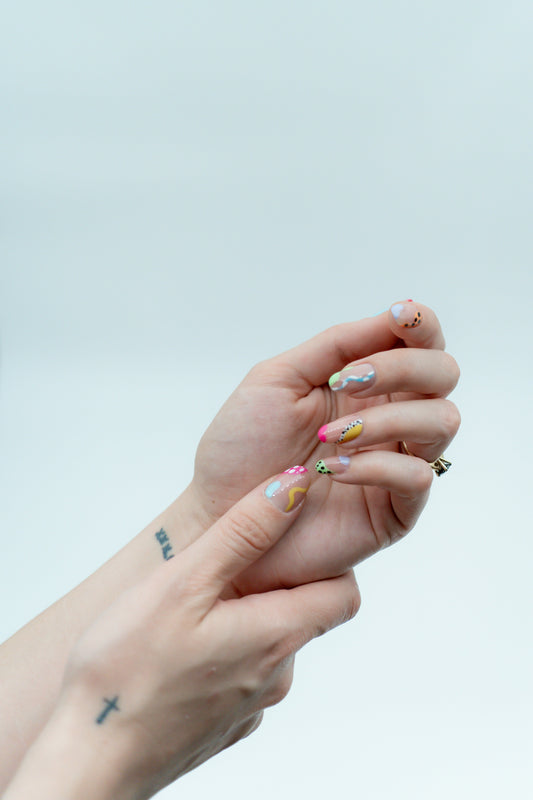
4) Cherry Dance (or Cherry Blossoms style)
Playful cherry/red themed set with mixed accents (solid, pattern, and glitter). Perfect for seasonal content, date nights, and themed shoots. Durable glossy finish for photos.

Step-by-step: professional at-home application (pro tips)
Follow these steps to maximize adhesion and minimize damage — extracted from nail-care experts and press-on pros:
-
Prep — push back cuticles, lightly buff the natural nail surface (very gentle), and remove oils with a 70%+ isopropyl alcohol wipe. Proper prep is the most important factor for longevity.
- Dry fit — lay out sizes in order. Trim/shape only if needed.
- Glue method (longer wear) — apply a thin, even layer of nail glue to the natural nail OR a small dot in the center underside of the press-on, align at a downward angle, press for 20–30 seconds, then file/shape edges. Avoid overfilling glue to prevent seepage.
- Adhesive tabs (shorter, reusable) — tabs are less permanent and protect the nail, great if you plan to reuse sets.
- Seal & finish — avoid submerging hands for 20–30 minutes after application so glue sets. For extra durability, apply a thin top coat (if compatible) to the seam.
Safe removal & aftercare (how to keep natural nails healthy)
Removing press-ons incorrectly causes peeling, brittleness, or infection risk. Use these dermatologist-backed and medically reviewed methods:
-
Warm soapy soak (gentle; best for adhesive tabs). Soak fingertips 10–15 minutes and gently lift edges with a wooden cuticle stick.
-
Oil-assisted removal — apply cuticle or cooking oil to the edges, wait, then ease off the press-on (helps if you want to reuse the set).
-
Acetone soak — for strong glue: soak cotton with pure acetone and wrap nails (or soak fingertips) until glue softens; use sparingly and moisturize afterward. Dermatologists warn to avoid aggressive scraping or ripping.
For nail health basics (why gentle removal matters), see the American Academy of Dermatology’s guidance on reducing damage from artificial nails.
How long will press-ons last? (realistic expectations)
With good prep and glue, a press-on manicure can last about 1–2 weeks; adhesive tabs or lighter glue give shorter wear but higher reusability. For content creators or frequent look-changes, lightweight glued sets plus careful removal give the best tradeoff between longevity and nail health. Industry roundups and expert tips confirm this 1–2 week range and emphasize fit + prep as the key durability drivers.
Styling & content ideas Close-up texture reels: macro shots of cat-eye shifts, pearl highlights, or 3D pearls.
-
Before/after transition: bare nails → prep → finished set with time stamps.
-
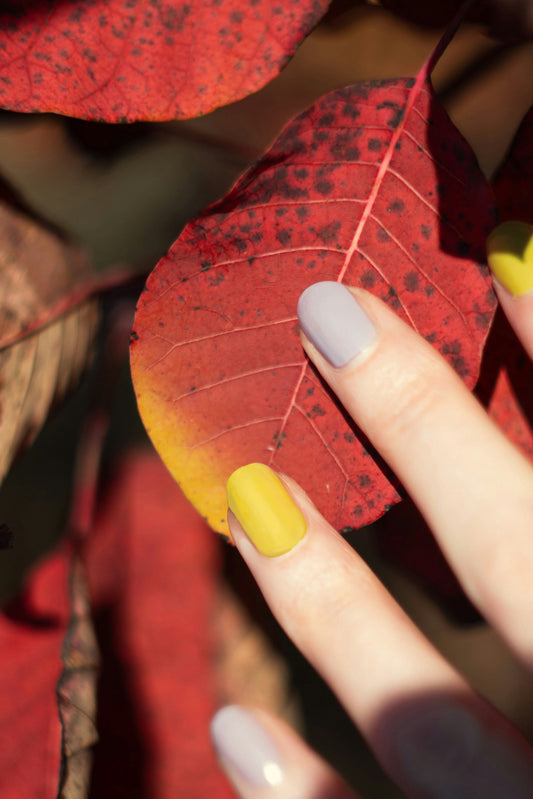
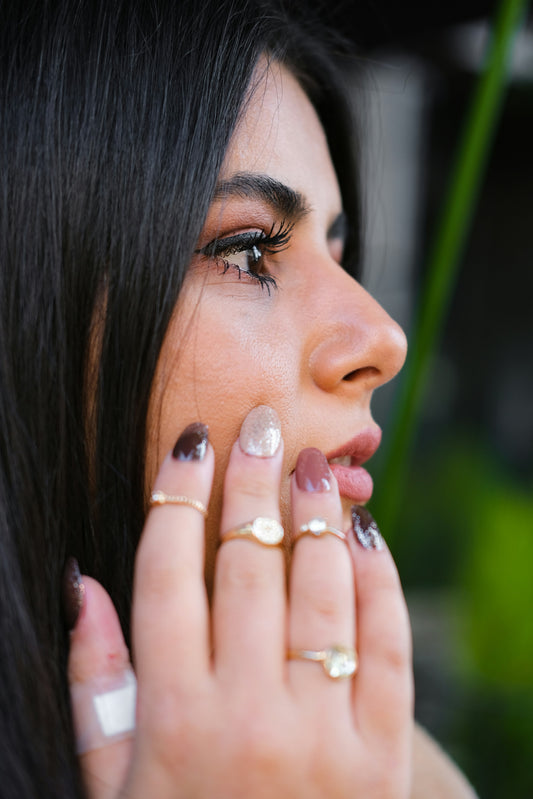
Mix & match: pair a statement thumb and ring with neutral everyday nails to show variety in one set.
-
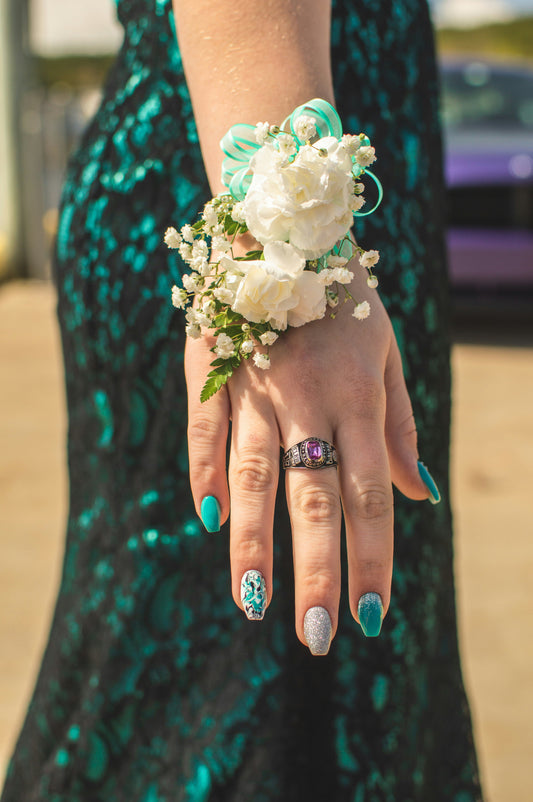
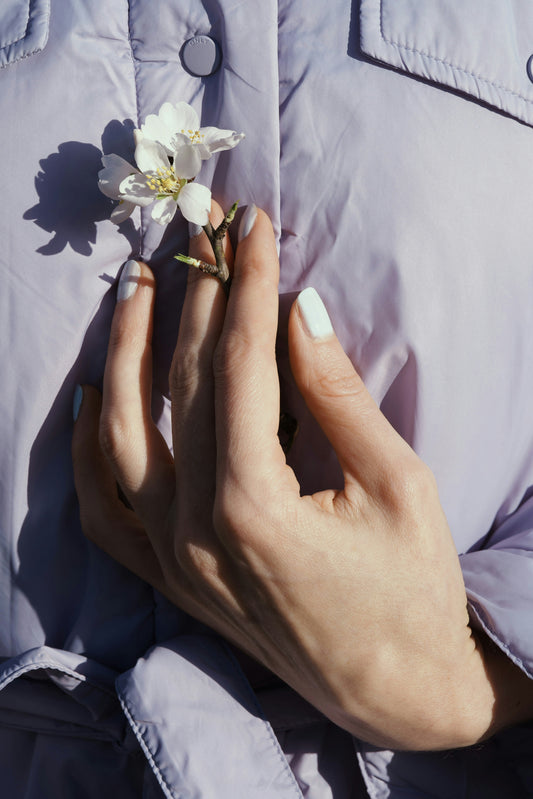
Lifestyle shots: pair nails with accessories (rings, fabrics) that pull color from the nail set for cohesive branding.
Mots clés:
Articles Liés
12 Neutral Nail Colors You Can Wear All Year
Sep 22 2025